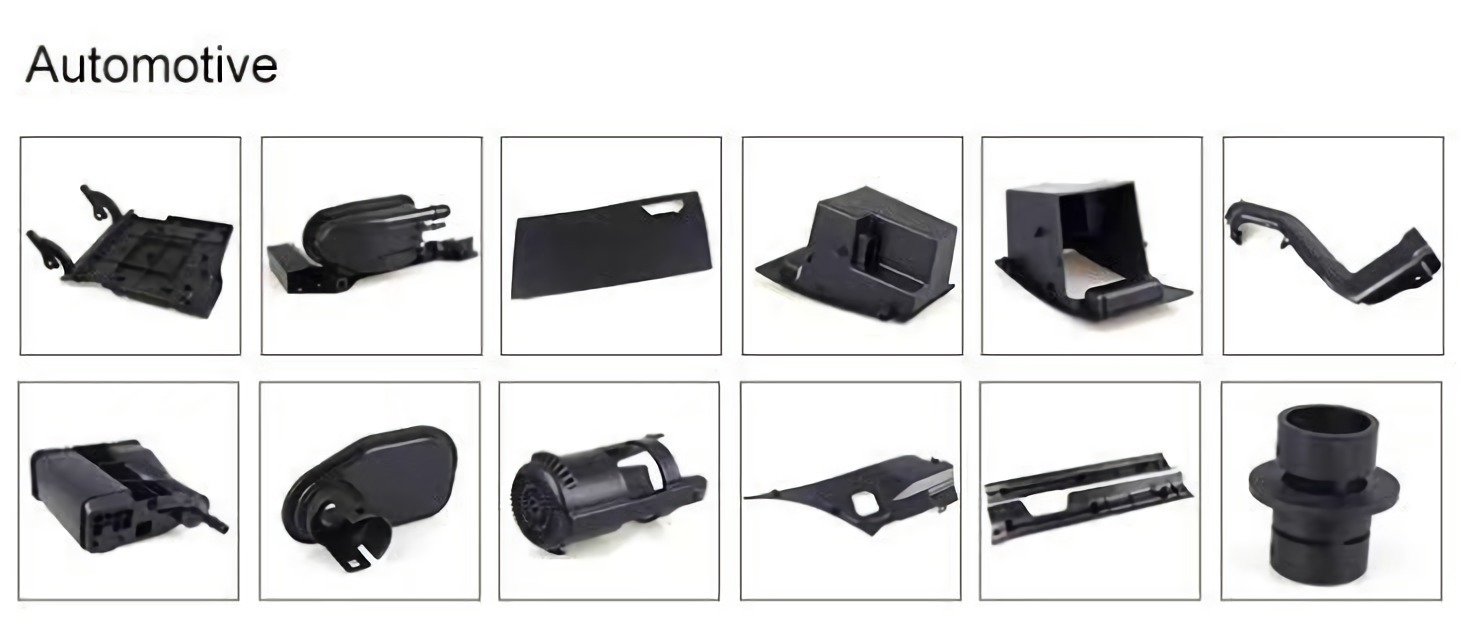
In the injection molding production line, cooling time is like "lowering the body temperature" for an athlete after a sprint—too short, and the plastic "retains heat" and deforms; too long, and it slows down production like a procrastinator. As the longest part of the injection molding cycle (accounting for 60%-80%), how do you calculate cooling time accurately? Let’s use a "kitchen cooking" analogy to uncover the scientific rules of plastic "cooling down"!
Cooling time refers to the time (in seconds) required for the plastic melt in the mold to cool from a molten state to demolding temperature. Its core goal is to ensure uniform cooling inside and outside the part, preventing sticking to the mold or deformation.
Core Principle:\(\text{Cooling Time} \approx \frac{\text{Part Wall Thickness}^2}{\text{Plastic Cooling Rate}}\)Analogy: Wall thickness is like the "size of food chunks," and cooling rate is like the "refrigerator’s cooling power"—larger beef chunks take longer to stew, and thin-walled parts cool faster.
Part Wall Thickness (t): Thicker walls dissipate heat more slowly (e.g., a 4mm-thick part takes 4 times longer to cool than a 2mm-thick part!).
Plastic Thermal Conductivity:
High thermal conductivity materials (e.g., metal-filled plastics) are like "aluminum pots that conduct heat quickly," requiring shorter cooling times;
Low thermal conductivity materials (e.g., PS) are like "ceramic pots that dissipate heat slowly," requiring longer cooling times.
Mold Temperature and Cooling Medium:
Low mold water temperature (e.g., 15°C) is like "turning on strong air conditioning," cooling faster;
High water temperature (e.g., 50°C) is like "turning on heating," cooling slower.
Regular Parts: Directly measure the maximum wall thickness (e.g., the thickness of a rectangular part).
Complex Parts: Use average wall thickness (e.g., for thin-wall + thick-wall structures, calculate by volume equivalence).Example: A PP water cup has a wall thickness of 3mm, classifying it as a medium-thick-walled part.
| Material | Cooling Rate (mm²/s) | Typical Cooling Time (3mm Wall Thickness) |
|---|
| Polyethylene (PE) | 0.8–1.2 | 7–11 seconds |
| Polypropylene (PP) | 0.6–0.9 | 10–15 seconds |
| Polystyrene (PS) | 0.4–0.6 | 15–23 seconds |
| Polycarbonate (PC) | 0.2–0.3 | 30–45 seconds |
Data Logic: PC is like "hot chocolate" that dissipates heat slowly, while PE is like "iced cola" that cools quickly.
Formula:\(\text{Cooling Time} = \frac{t^2}{v} = \frac{3^2}{0.7} \approx 12.9 \text{ seconds}\)(Note: v takes the median cooling rate of PP, 0.7 mm²/s)
Analogy: Similar to moving a 3cm-thick steak from a pan to a refrigerator, taking about 13 seconds to reach a safe eating temperature.
To make it easy to remember, here’s a calculation mnemonic:
1. Measure wall thickness, 2. Check material cooling rate, 3. Divide thickness squared by rate, 4. Get the cooling time in seconds.
Verification Case:
Problem: The part’s surface cools and hardens, but the interior remains uncured, causing "sink marks" or "warpage" during ejection.
Case Study: A factory reduced the cooling time for PC gears from 40 to 25 seconds, increasing the scrap rate from 5% to 30%, with excessive warpage on gear surfaces.
Data: Every 10-second extension in cooling time reduces annual production by approximately 200,000 parts per injection machine (based on a 30-second cycle).
Economic Impact: At a profit of $0.5 per part, this results in an annual loss of about $100,000!
For ABS+TPE two-color parts, cool the rigid ABS layer first (60% of the time), then the soft TPE layer (40% of the time).
Logic: Similar to freezing ice first and then juice, ensuring sequential curing of inner and outer layers.
Thin-wall areas: Use spiral cooling waterways (e.g., water pipes coiled around the core) to increase cooling efficiency by 30%.
Thick-wall areas: Insert "cooling rods" (copper alloy material) to accelerate central cooling via high thermal conductivity.
Measure the part’s surface temperature immediately after demolding. If it exceeds the demolding temperature, extend cooling time by 5–10 seconds.
Tool: Handheld infrared thermometer (accuracy ±2°C), providing results in 1 second.
| Inspection Item | Acceptance Criteria | Adjustment Method |
|---|
| No sink marks or warpage | Visual inspection or coordinate measurement | Extend cooling time by 5–10 seconds |
| No sticking during ejection | Part falls off automatically without extra force | Lower mold temperature or increase cooling water
flow rate |
| Cycle time ≤ Target value | E.g., target cycle 40 seconds, cooling ≤30 seconds | Optimize waterways or replace with high thermal conductivity mold materials |
Calculating cooling time is like being a "temperature doctor" for the injection molding process—both ensuring thorough cooling and avoiding "excessive icing" that slows production. Mastering the formula method of "measuring thickness and checking rates," combined with "precision temperature control" via mold waterways, can make every part set like "iced soda," ensuring both quality and efficiency. The next time you debug an injection molding machine, use this time magic to make the cooling stage the "efficiency leader" on the production line!


